.png.webp)
Introduction
Whether you are an independent designer operating a small workshop or a purchasing manager for a growing jewelry brand, mastering the casting process is your ultimate technical barrier. Casting dictates not only the surface perfection of your product, but also your production speed, defect rate, and ultimately, your profit margins.
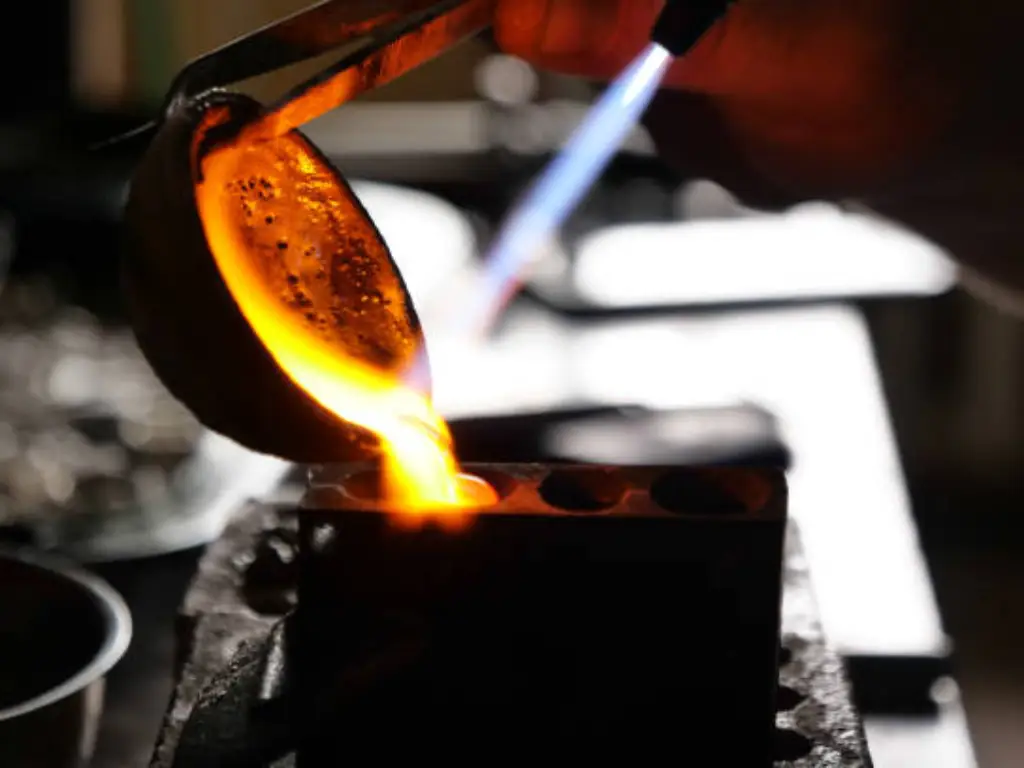
You need to know how to execute the process correctly to avoid porous surfaces, control precious metal waste, and scale your operations without burning through capital. This guide bypasses the fluff, providing exact temperature curves, material boundaries, and direct troubleshooting protocols to ensure your production yields flawless metal components.
Traditional vs. Modern Methods: Which Casting Process is Right for You?
Your choice of casting method determines your upfront equipment costs and the maximum detail you can achieve. Review the comparison matrix below to determine the correct method for your specific business requirements.
| Casting Method | Setup Cost | Production Speed | Detail Level | Meilleur pour |
| Sand Casting | Low (<$100) | Fast (1 Hour) | Faible à moyen | DIY Beginners, Simple thick bands |
| Traditional Lost-Wax | Medium ($2k+) | Medium (1-2 Days) | Extrêmement élevé | Professional Studios, Hand-carved designs |
| 3D Resin Casting | High ($5k+) | Fast (Prototyping) | Ultra-Precision | B2B Brands, Complex CAD mass production |
Sand Casting (Best for Beginners & Simple Designs)
Sand casting involves packing an oil-bonded clay mixture around a hard master model.
- The 3-Step Quick Cast: 1) Pack the sand tightly around your master model in a two-part frame. 2) Remove the model to leave a negative cavity. 3) Melt your metal and pour it directly into the sand.
- The Catch: While incredibly fast, the resulting metal surface will replicate the granular texture of the sand, requiring extensive filing. It is inadequate for delicate items like thin prongs.
The Lost-Wax Casting Process (The Industry Standard)
This traditional method involves encasing a wax model in a liquid plaster investment, melting the wax out in a kiln, and filling the flawless negative space with molten metal. It is the dominant method for high-fidelity duplication.
3D Resin Printing (The Future of B2B Production)
Modern industrial casting replaces manual wax carving with 3D photopolymer castable resin. This removes human error from the prototyping phase, allowing brands to test dimensions rapidly and significantly reduce the financial risk associated with large-scale production runs.
Essential Equipment & Safety Gear: Before You Melt Metal
Jewelry casting involves handling hazardous silica dust and exposing materials to temperatures exceeding 1000°C. Do not compromise on safety.
⚠️ MANDATORY SAFETY GEAR (PPE):
- Heat-Resistant Gloves: Rated for direct contact with items over 500°C.
- N95 or P100 Respirator Masks: Strictly required to block silica dust inhalation when mixing and breaking investment powder.
- Sécurité Goggles & Leather Apron: Protection against ultraviolet light and potential 1000°C metal splatter.
Step-by-Step Guide: The Advanced Investment Casting Process
Casting is an unforgiving science heavily reliant on physics. Adhere strictly to these variables to avoid 90% of beginner blowout or porosity disasters.
Step 1: Master Model (Wax Carving or 3D Printing)
You begin by shaping the exact design out of carving wax or printing it using castable resin. Because metal shrinks as it cools, you must scale your wax or CAD model 1% to 3% larger than your desired final dimensions (depending on the specific alloy) to compensate for thermal contraction.
Step 2: Building the Master Pattern Tree
You must attach a main sprue (a wax or resin wire) to your master model. This provides the channel for the molten metal. Attach the sprues to the heaviest part of the jewelry design at a strict 45-degree angle to prevent fluid turbulence. Multiple models are then attached to a central trunk, creating a “pattern tree” for mass production.
Step 3: Investing and Vacuuming (The 8-Minute Race)
[Insert GIF: A close-up of the investment mixture rapidly boiling and then settling under vacuum pressure]
Place the tree inside a steel cylinder (flask). Mix investment powder with water using a digital scale for precise ratios.
Crucial Timing: Standard jewelry investment has a “working time” of about 8 to 9 minutes before it permanently hardens (gloss-off). You must move fast:
- Mix powder and water for exactly 3 minutes.
- Vacuum the bowl for 1.5 minutes to extract trapped air.
- Pour the mixture into the flask, covering the tree.
- Vacuum the flask for another 1.5 minutes.
HIGH-RISK WARNING (Bench Set): Once poured, you must leave the flask undisturbed at room temperature for at least 1.5 to 2 hours. The plaster undergoes an exothermic chemical reaction. If you place a “just-hardened” flask directly into a hot kiln, the trapped moisture will instantly boil, causing the mold to violently explode inside your oven.
Step 4: The Burnout Cycle
Place the fully cured flask into the kiln. The kiln runs a multi-stage temperature schedule to eliminate the pattern material.
- For Traditional Wax: A standard schedule peaks around 730°C to evaporate chemical water and burn away carbon residue.
- For 3D Printed Resin:Do not use a standard wax curve. Resin expands before it melts. You must use a specialized resin investment powder and a much slower, flatter heating curve to prevent the expanding resin from cracking your plaster mold.
Step 5: Melting and Pouring the Metal
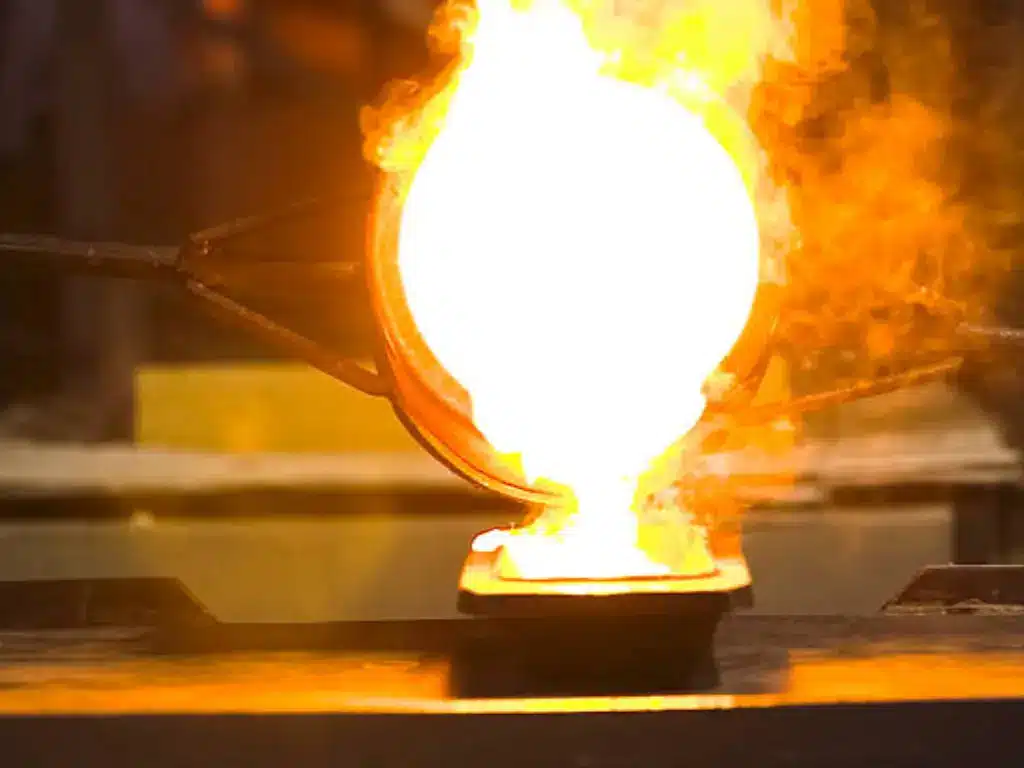
Transfer the hot flask to your vacuum casting machine or centrifuge. Heat your metal grain in a crucible. The metal is ready when it pulls together into a single, highly reflective mass with no visible crust. Activate the vacuum/centrifuge and immediately pour the metal into the sprue hole.
Step 6: Quenching and Divesting
Wait for the button of metal at the top of the sprue to lose its red glow. Submerge the hot flask into a bucket of water. The sudden thermal shock violently disintegrates the investment plaster (quenching) and aligns the crystalline structure of the metal, making it less brittle for finishing.
Step 7: Finishing and Polishing
Use heavy-duty sprue cutters to detach the pieces. Submerge them in a heated acidic solution (pickling) to remove surface oxidation. Finally, use files and polishing compounds to bring the metal to a high-gloss finish.
The Expert Clinic: Troubleshooting Common Failures
If your castings are failing, identify the visual defect below and apply the corrective action immediately.
- Porosity and Bubbles (Small holes on the metal surface):Cause: You failed to extract all air during the vacuum phase, or your burnout temperature increased too rapidly, causing the plaster to boil.
- Solution: Verify your vacuum pump pulls a full 29 inches of mercury. Strictly adhere to the 8-minute working time window.
- Incomplete Castings (Missing sections or dull edges):
- Cause: The molten metal was too cold, or the flask dropped in temperature, causing metal to solidify before reaching the mold’s extremities.
- Solution: Increase the final holding temperature of your kiln by 30°C. Ensure your sprue channels are thick enough.
Scaling Your Brand: The True Cost of In-House Casting
There is a distinct transition point in every jewelry business where manual production becomes a massive liability.
When you process high-value materials like 18K gold or fine silver, an internal defect rate of 15%—caused by experimental porosity or shrinkage—is enough to completely devour your monthly profit margins. You are paying for precious metal that ends up as floor sweepings.
Eliminate Loss Aversion with Azone Jewelry
At Azone Jewelry, we utilize highly calibrated industrial equipment and strictly controlled environments to maintain a defect rate strictly below 3%. This means every dollar you spend is converted into sellable inventory, not workshop waste.
- Low MOQs: Test the market without tying up capital. We support flexible runs starting at just 50-100 units.
- Rapid Lead Times: From your initial 2D sketch/3D CAD to a physical sample in just 7 to 14 days. Full production takes only 15-30 days.
- Conformité mondiale : We hold SMETA, BSCI, ROHS, and GRS certifications (utilizing sustainable, recycled materials), instantly elevating the ethical authority of your brand.
Foire aux questions (FAQ)
How long does the jewelry casting process take?
For a single run in a workshop, the physical process takes 12 to 24 hours (mostly passive time consumed by the 8 to 12-hour kiln burnout). Active labor is only 2-3 hours. If outsourcing to a B2B manufacturer, custom sampling requires 1 to 2 weeks due to CAD DFM analysis and queue management.
Can I reuse silver or gold from old jewelry for casting?
Yes, but you must mix the old metal with a minimum of 50% new casting grain. Crucially, you must add a flux like Borax when melting scrap. Scrap metal contains heavy oxides. Without flux to absorb and separate this slag, your new casting will be plagued with severe porosity and brittle structures.
Bring Your Jewelry Designs to Life
Casting is an art defined by precise engineering. If you are a maker building your first studio, mastering these variables will significantly reduce your material waste.
However, if you are scaling a jewelry brand, your primary focus must remain on design, marketing, and sales—not troubleshooting kiln curves and vacuum pumps. Delegating your production to specialists is the only sustainable way to scale.
Since 2003, Azone Jewelry has operated as a premier manufacturing partner. We offer a monthly capacity of 500,000 pieces, backed by a 1-to-2-year plating warranty and DHL 2-3 day global shipping.
Ready to scale your production and eliminate manufacturing defects? Send us your design today, and our engineers will provide a comprehensive DFM (Design for Manufacturing) analysis within 24 hours.


 English
  Spanish
  French
  German