.png.webp)
How to Make Jewelry: The Ultimate Pro Guide (From DIY to Brand Owner)
Turning raw materials into wearable art is incredibly rewarding. But there’s a massive gap between a fragile weekend craft and a premium, professional-grade piece. Whether you’re learning how to make your own jewelry or planning to launch a profitable brand, mastering these foundational techniques is your ultimate blueprint for success.
Choosing Your Jewelry Making Path: A Strategic Entry
Before you buy a single pair of pliers or a spool of wire, you must decide your entry point. The jewelry-making universe is vast, and different methods require vastly different budgets, workspace setups, and learning curves. If you want to master how to make hand made jewelry, entering the wrong path without understanding its requirements is the fastest way to burn out.
Beading & Stringing
The Foundation: This is the most accessible entry point. If you want to know how to make beaded jewelry, it involves assembling pre-made elements—glass beads, gemstones, or pearls—onto a flexible wire.
The Pro Secret: Amateurs string random colors; pros use the 60-30-10 Color Rule (60% dominant base, 30% focal color, 10% high-contrast accent). Furthermore, professional stringing requires 49-strand nylon-coated stainless steel wire for maximum drape and unbreakable strength.
Wire Wrapping & Fabrication
The Foundation: For those eager to learn how to make wire jewelry, this sculptural method uses varying thicknesses of wire to physically cage raw stones or link components without a single drop of solder.
The Pro Secret: Wire wrapping is an exercise in extreme hand-control and physics. You must master the functional difference between your rigid “Base Wire” (the skeleton) and your hair-thin “Weaving Wire” (the skin) to avoid warping your frame.
Resin, Clay & Niche Mediums
The Foundation: Modern indie boutiques thrive on alternative materials. Mastering how to make resin jewelry allows you to embed botanicals in crystal-clear epoxy, while learning how to make clay jewelry (polymer clay) offers endless color-mixing and sculpting potential for lightweight statement earrings.
The Pro Secret: The challenge lies in the finishing. Resin requires strict climate control and pressure pots to eliminate micro-bubbles, while polymer clay demands hours of meticulous wet-sanding to achieve a flawless, glass-like edge.
Metalsmithing & Specialized Crafts
The Foundation: The absolute high-end realm. Learning how to make metal jewelry involves raw metal sheets, jeweler’s saws, and torches. You are literally melting and fusing metal.
The Pro Secret: This demands a fire-safe studio and a steep budget (often exceeding $500-$1000). Once you understand the metallurgy of how to make jewelry metal work for you through annealing, you can branch out. This foundation is necessary if you want to know how to make enamel jewelry, explore the ancient art of how to make chainmail jewelry, or even dive into hyper-niche markets like how to make breast milk jewelry or the trending service of how to make permanent jewelry.
The Anatomy of a Professionally Crafted Piece
To build a skyscraper that won’t collapse in the wind, an architect must know the exact names and load-bearing limits of their building materials. In jewelry design, your creation is only as strong as its weakest microscopic link. Understanding jewelry anatomy is your first step toward professionalism.
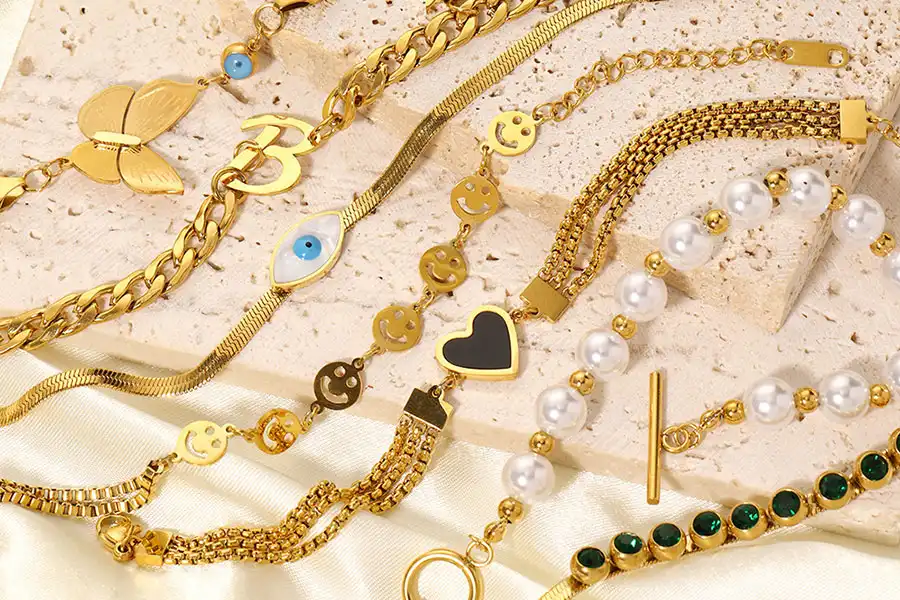
- 1. Findings (The Structural Architecture): The functional metal components that hold everything together (clasps, jump rings, ear wires). Pro Tip: Your findings dictate the lifespan of your piece.
- 2. Stringing Materials (The Hidden Foundation): What the jewelry is built upon (chain, silk thread, leather cord, or professional beading wire).
- 3. Focal Components (The Visual Centerpiece): The star of the show—gemstones, pendants, or intricate metal focal points.
- 4. Spacer Beads & Accents (The Filler & Pacing): The unsung visual regulators. Small metal or crystal beads (2mm-4mm) placed between larger focal beads to prevent scratching, add flexibility, and provide visual “breathing room.”
Building Your Starter Toolkit: Invest Where It Counts
Figuring out how to make jewelry at home does not require a $1,000 professional studio to start. However, buying cheap, unbranded tools from a dollar store is a guaranteed way to permanently scratch your expensive gold wire and crush your beads. Here is exactly what you should budget based on your commitment level.
$50 Minimalist Starter Kit
Perfect for testing the waters and learning the mechanical movements safely.
- Basic 4-piece plier set (Chain-nose, Flat-nose, Round-nose, Flush cutters). Ensure the chain-nose and flat-nose have perfectly smooth interior jaws.
- Spools of copper or brass practice wire (20g & 24g). Never practice on silver or gold!
- A basic assortment of glass beads and base-metal findings (jump rings, clasps).
- A standard flocked bead mat (prevents beads from bouncing off the table into oblivion).
$150 Pro-Amateur Kit
The mandatory starting point for those planning to sell their creations immediately on Etsy or at local markets.
- Ergonomic, box-joint 4-piece plier set (box joints stay aligned longer than lap joints).
- Specialized Micro-Crimping Pliers (absolutely non-negotiable for professional stringing).
- 14K Gold-Filled or 925 Sterling Silver wire, crimp tubes, and findings.
- High-quality semi-precious stone strands (e.g., amethyst, labradorite).
- Daylight LED desk lamp (5000K-5500K) for highly accurate color grading and reducing eye strain during micro-work.
The Essential “Core Four” Jewelry Pliers (And How to Use Them)
Your pliers are an extension of your fingers. You need two pairs of pliers to properly open a jump ring—treating them like surgical instruments.
| Pliers Name | Core Function & Mechanics | The Golden Rule & Red Flags |
|---|---|---|
| Chain-Nose Pliers | Flat on the inside, rounded on the outside, tapering to a fine point. Used for gripping wire, opening jump rings, and tucking sharp wire ends into tight spaces. | Must be completely smooth-jawed. Hardware store pliers have “teeth” (serrations) for gripping pipes. If you use teeth on jewelry wire, you will instantly chew up the metal surface and destroy the polish. |
| Flat-Nose Pliers | Flat on the inside and outside, with broad rectangular tips. Used for gripping wider surfaces, making sharp right-angle bends, and holding wire securely. | This is your essential “second hand.” The wider jaw provides better grip than chain-nose without marring the metal, making it the perfect partner to chain-nose pliers when twisting open jump rings. |
| Round-Nose Pliers | Both jaws are perfectly conical (cone-shaped) from base to tip. Used exclusively for creating perfectly round loops, curves, and consistent wire coils. | Do not use these for gripping or pulling! They have very little surface area and will slip, potentially stabbing your hand. Look for fine, precision-tapered tips. Thick tips will prevent you from making delicate, micro-loops. |
| Cuchillas enrasadas | Designed to cut wire, leaving one side completely flat (flush) and the other side pinched (V-shape). | The Directional Rule: You must always face the flat (flush) side toward the piece of wire you are keeping on your jewelry, and the angled side toward the scrap wire you are throwing away. This ensures your jewelry has safe, flat ends that won’t scratch the wearer’s skin. |
Decoding Wire Gauges and Metal Tempers (The Physics of Jewelry)
This is the deepest water of the craft, where amateurs fail and professionals thrive. Using the wrong wire thickness or the wrong hardness is the number one reason handmade jewelry warps out of shape, snaps under pressure, or looks sloppily constructed. You must understand the physics of your metal.
Navigating Wire Gauges for Structural Needs
In the United States, jewelers use the American Wire Gauge (AWG) system. The most counter-intuitive, yet crucial rule to memorize is: The smaller the gauge number, the thicker the wire.
| Gauge (AWG) | Thickness / Feel | Best Use Case (Physics & Structure) |
|---|---|---|
| 12g – 14g (1.6-2.0mm) | Extremely thick, rigid, requires heavy pliers to manipulate. | Heavy Structural Frames: Stiff neck collars, heavy-duty cuff bracelets, and the foundational frames for massive, stone-heavy pendants. |
| 16g – 18g (1.3-1.0mm) | Thick and highly sturdy (feels like a heavy paperclip). | Heavy clasps, standard bangle bases, large structural jump rings that need to bear significant weight. |
| 20g (0.8mm) | Standard medium (easily manipulated but holds shape). | The Universal Standard: This is the exact thickness required for standard ear wires (French hooks), standard jump rings, and making headpins. |
| 22g – 24g (0.6-0.5mm) | Thin, flexible, and delicate. | Delicate wire wrapping, passing through the small drill holes of freshwater pearls or tiny semi-precious beads. |
| 26g – 28g (0.4-0.3mm) | Thread-like (feels like coarse hair). | Intricate weaving wire, coiling tightly around thicker base wires, and microscopic gemstone stringing. |
The Critical Concept of Metal Temper (Hardness)
Why did the beautiful handmade ear hook you crafted bend completely out of shape the first time you tried to push it through your earlobe? It wasn’t because the wire was too thin; it was because you used the wrong Temper.
Temper refers to the hardness and springiness of the metal. As metal is drawn through plates to make wire, its crystalline structure compresses, making it harder. You can buy wire in three main tempers:
- Dead Soft: The metal has been annealed (heated) to its maximum softness. It is extremely pliable, bends with zero resistance, and is fantastic for intricate, swirling wire-wrapping designs. However, it holds zero structural weight. Rule: Never, ever use Dead Soft wire for clasps, ear wires, or load-bearing jump rings. They will fail.
- Half-Hard: The ultimate sweet spot for jewelry makers. It takes some deliberate force and pliers to bend, but once formed, it has a “spring memory” and holds its shape permanently. Use Half-Hard wire for all structural components (ear wires, clasps, jump rings).
- Full-Hard: Extremely stiff and very difficult to bend. Used almost exclusively for rigid, heavy-duty structures where zero flex is desired.
Mastering Foundational Connection Techniques
Your jewelry is only as durable as its mechanical connections. Whether you are using wire or pre-made findings, mastering these three micro-movements is the absolute difference between a piece that lasts a lifetime and a piece that falls apart on the sidewalk.
1. The Correct Way to Manipulate Jump Rings
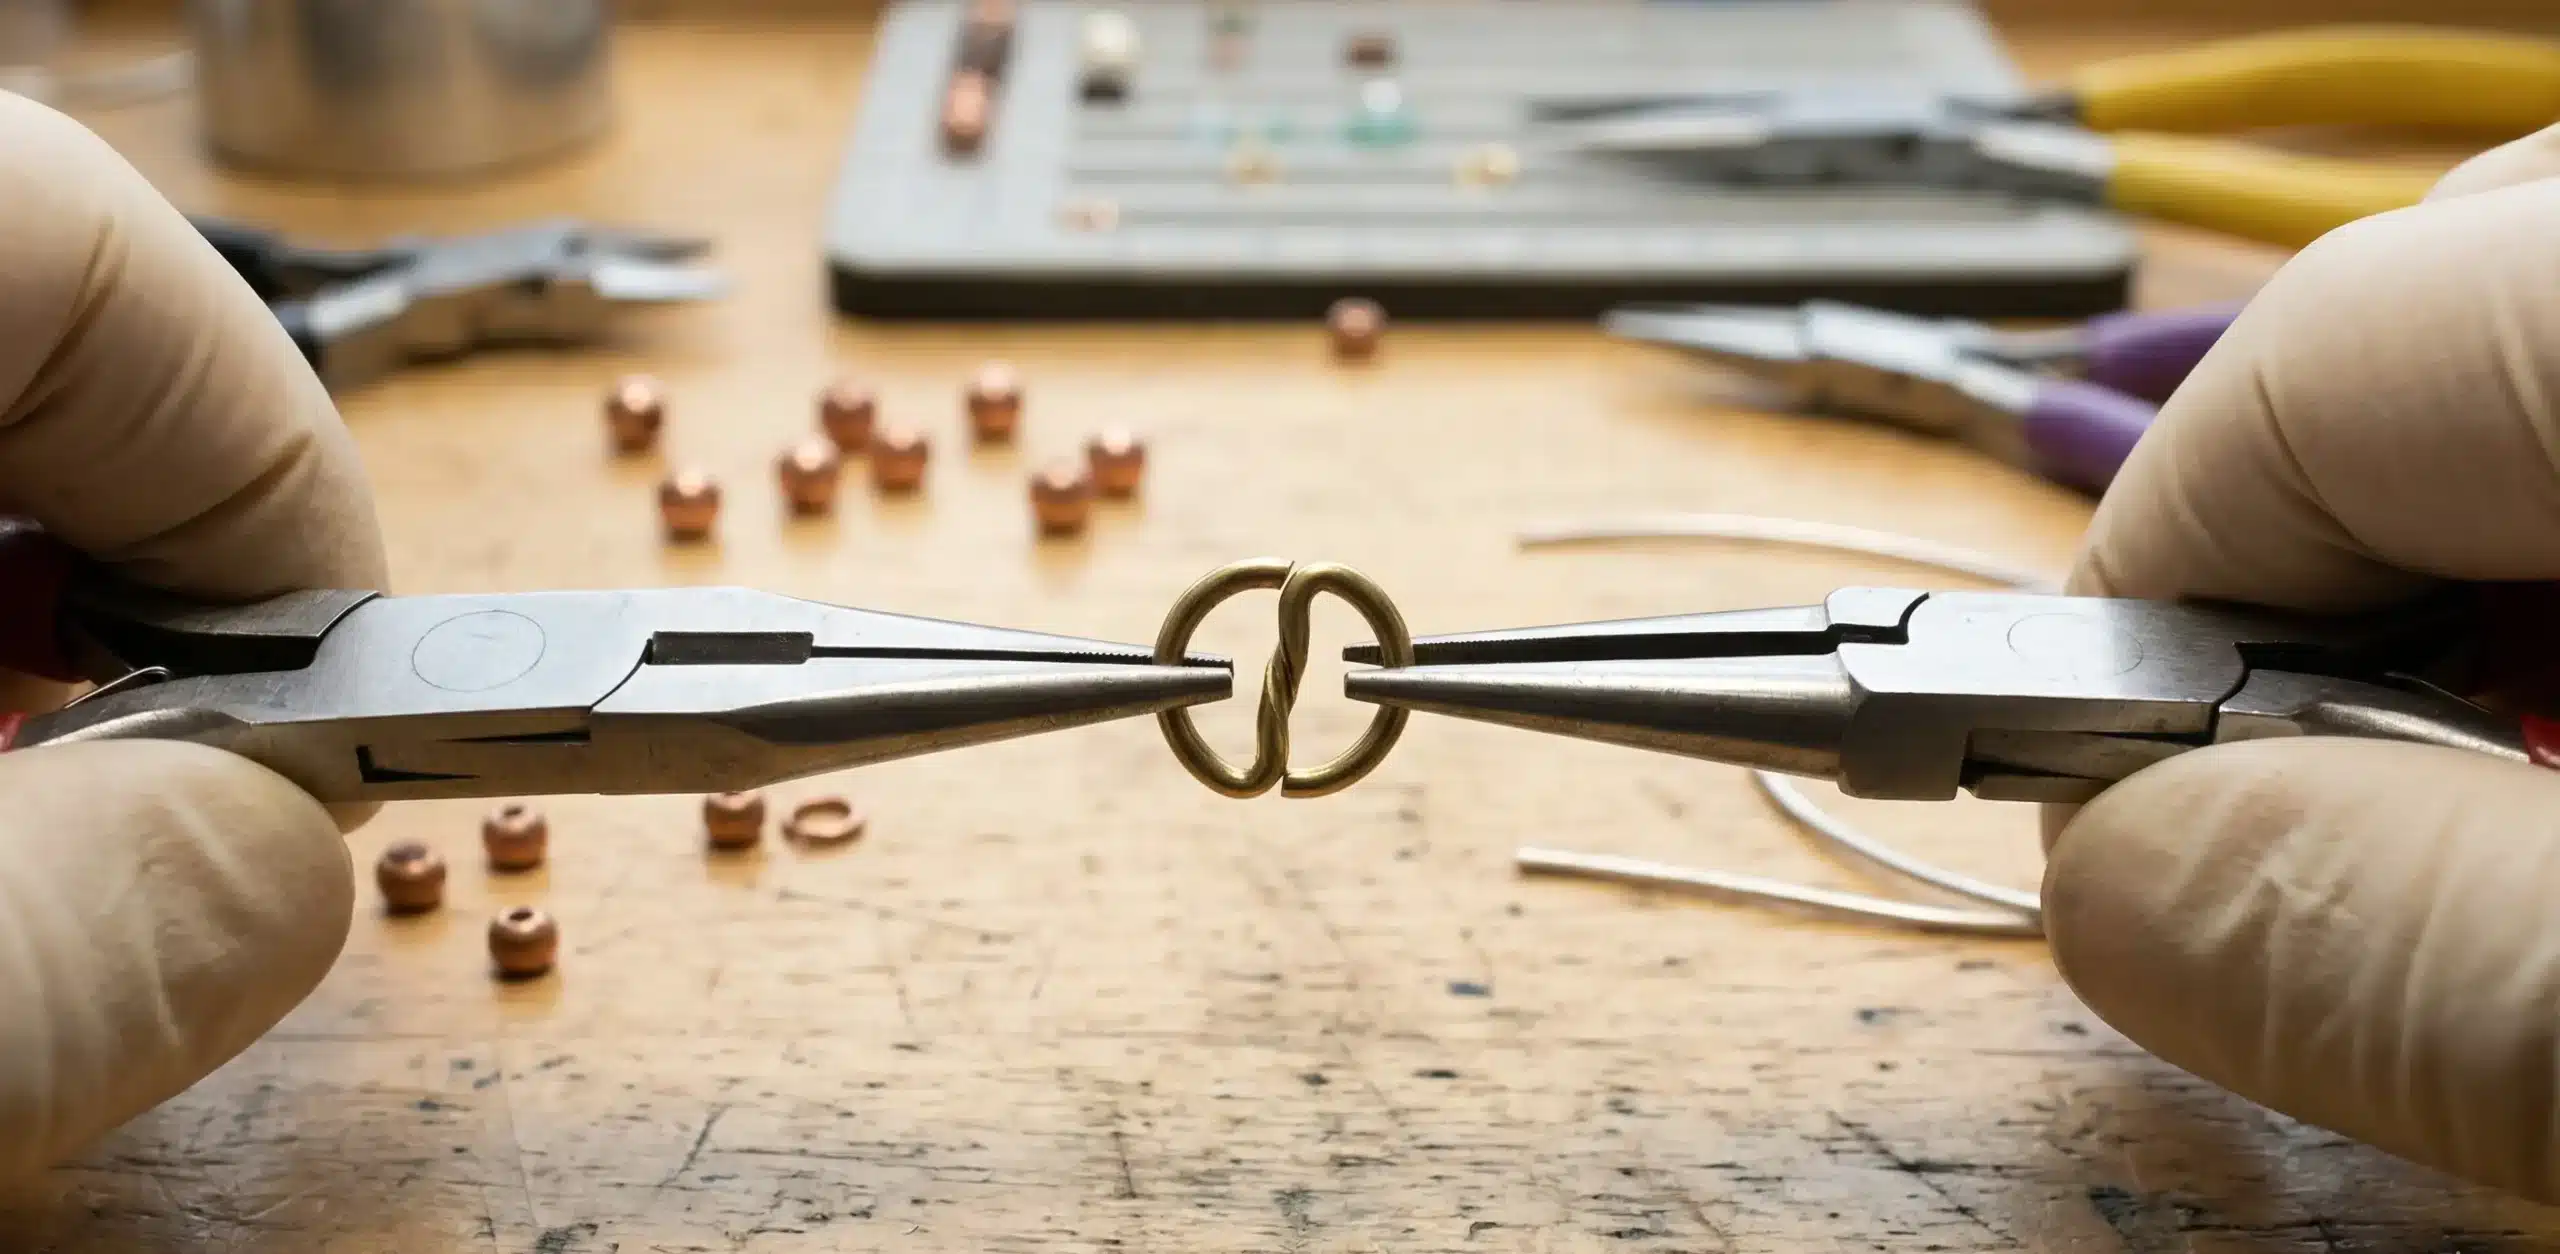
The Golden Rule: Twist, never pull. Using your chain-nose in one hand and flat-nose in the other, grip the jump ring on opposite sides. Push your right hand away from you while pulling your left hand toward you. To close it, reverse the motion until you feel a tiny “click” of the ends meeting perfectly flush. Pulling it apart horizontally destroys the metal’s circular memory permanently.
2. Executing the Perfect Wrapped Loop (The Anti-Snag Knot)
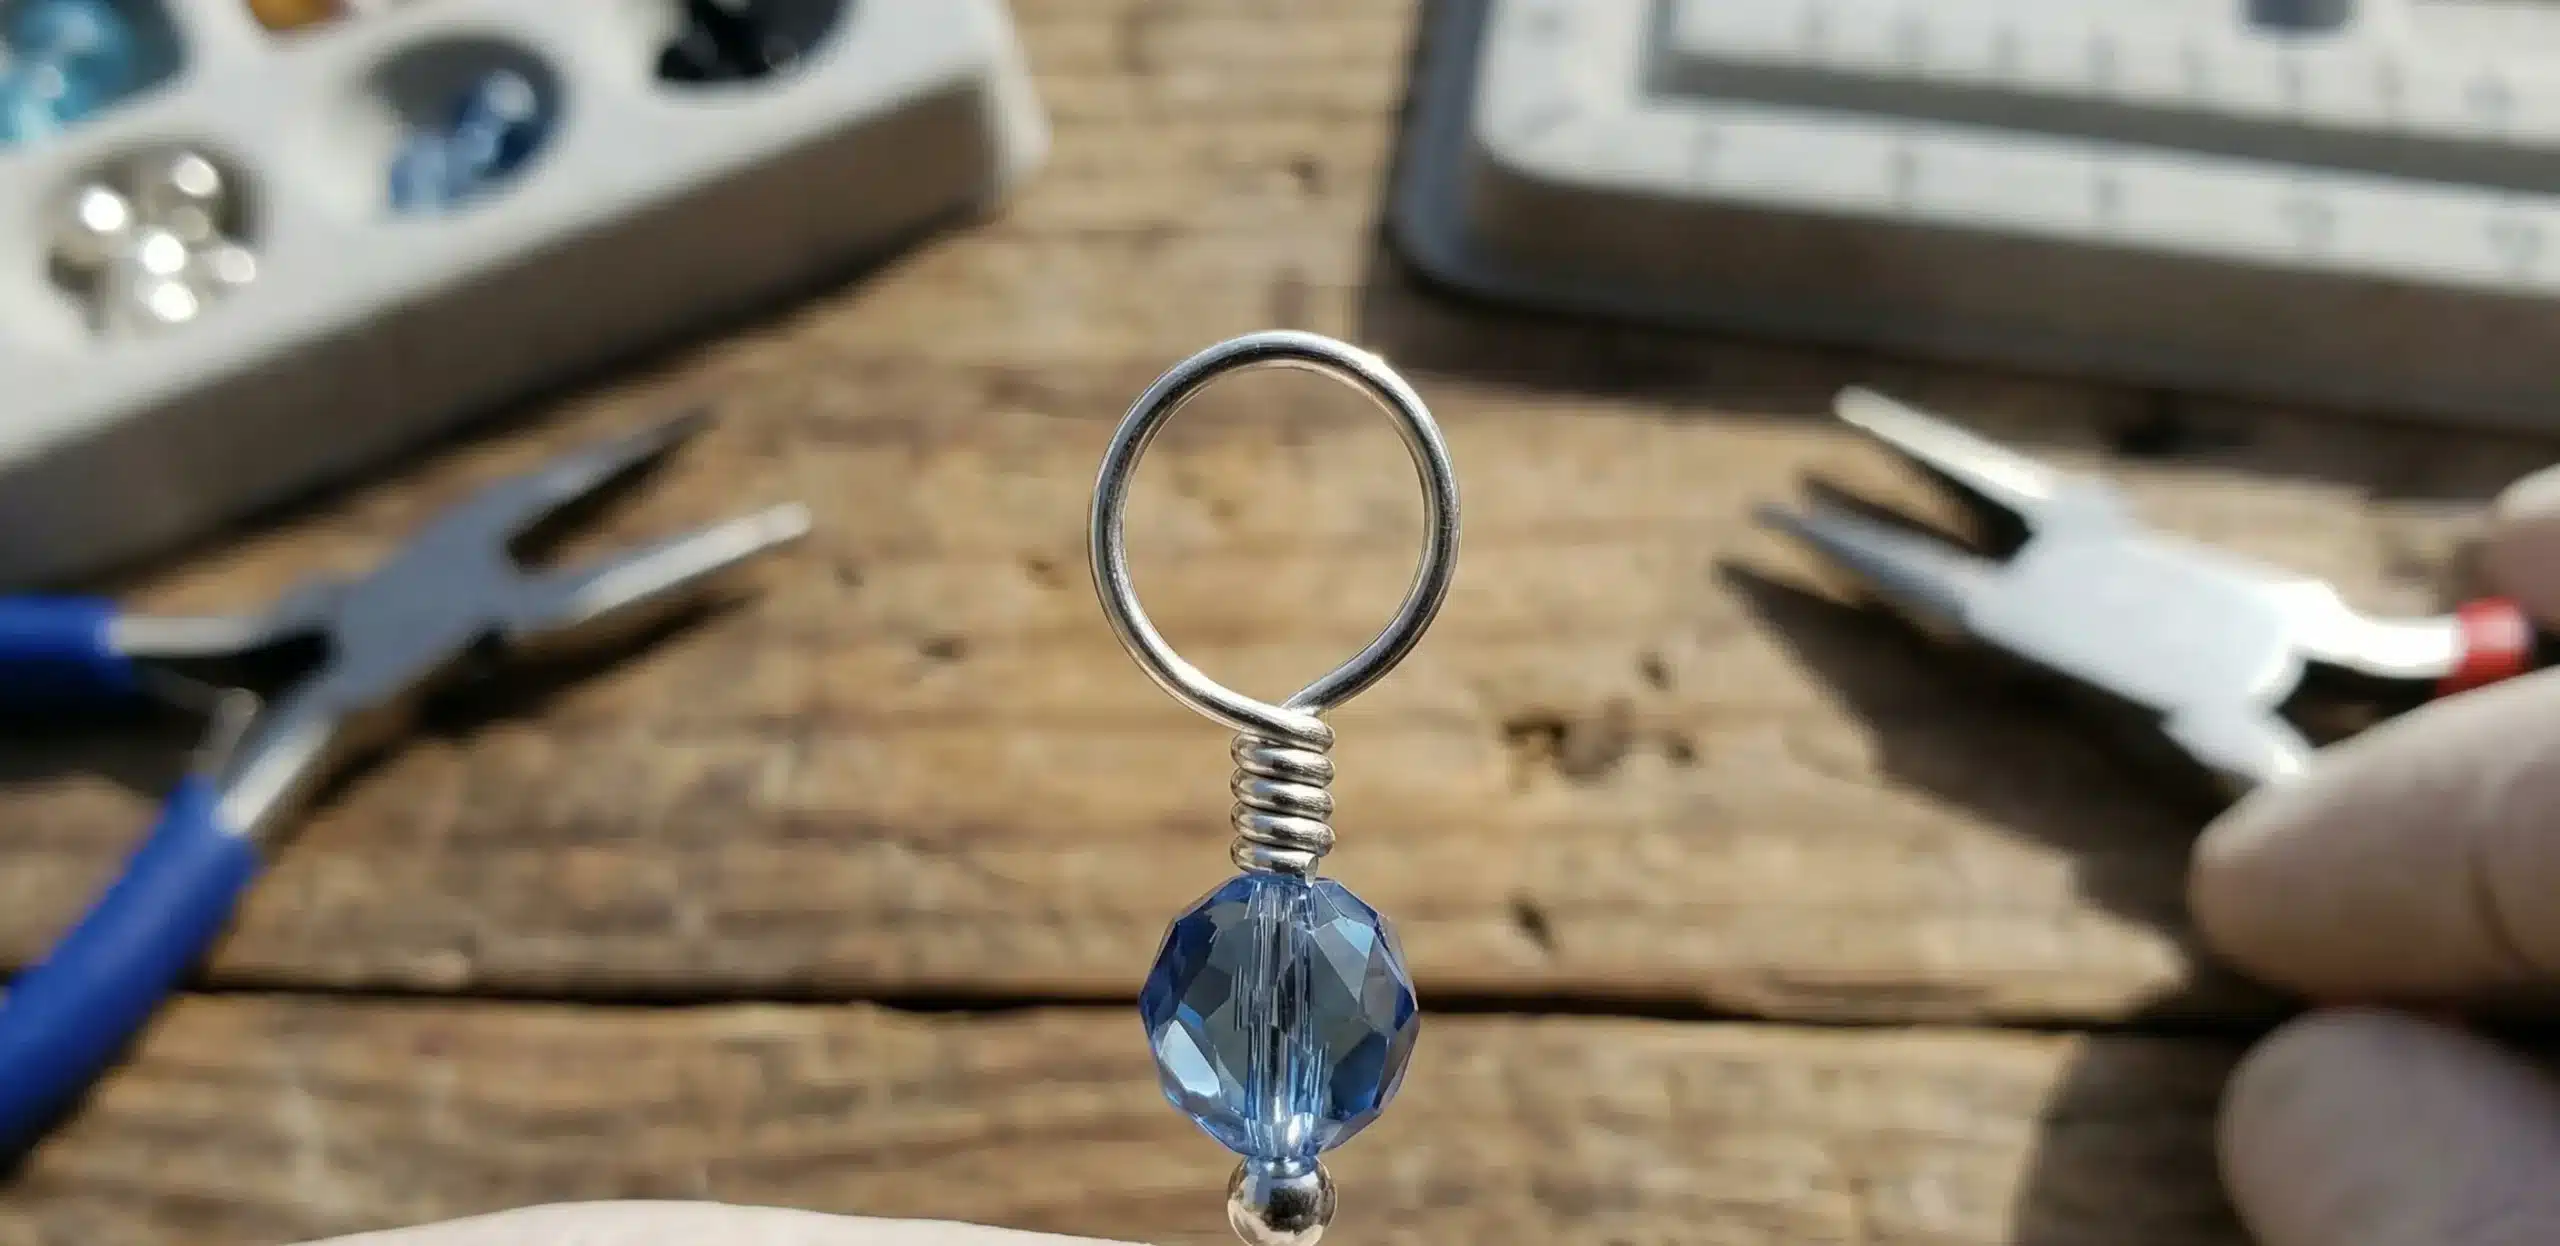
A “Simple Loop” can easily be pulled open if snagged. For professional security, you must use a Wrapped Loop. Bend the wire 90 degrees, wrap it over your round-nose pliers to form a circle, then tightly coil the tail end around the straight vertical stem 3 to 4 times. Snip the excess tail flush. The Final Polish: Use your chain-nose pliers to gently pinch and roll the tiny sharp burr flat against the coils until it is completely smooth to the touch.
3. Securing Ends with Crimp Beads (The Anti-Snap Method)
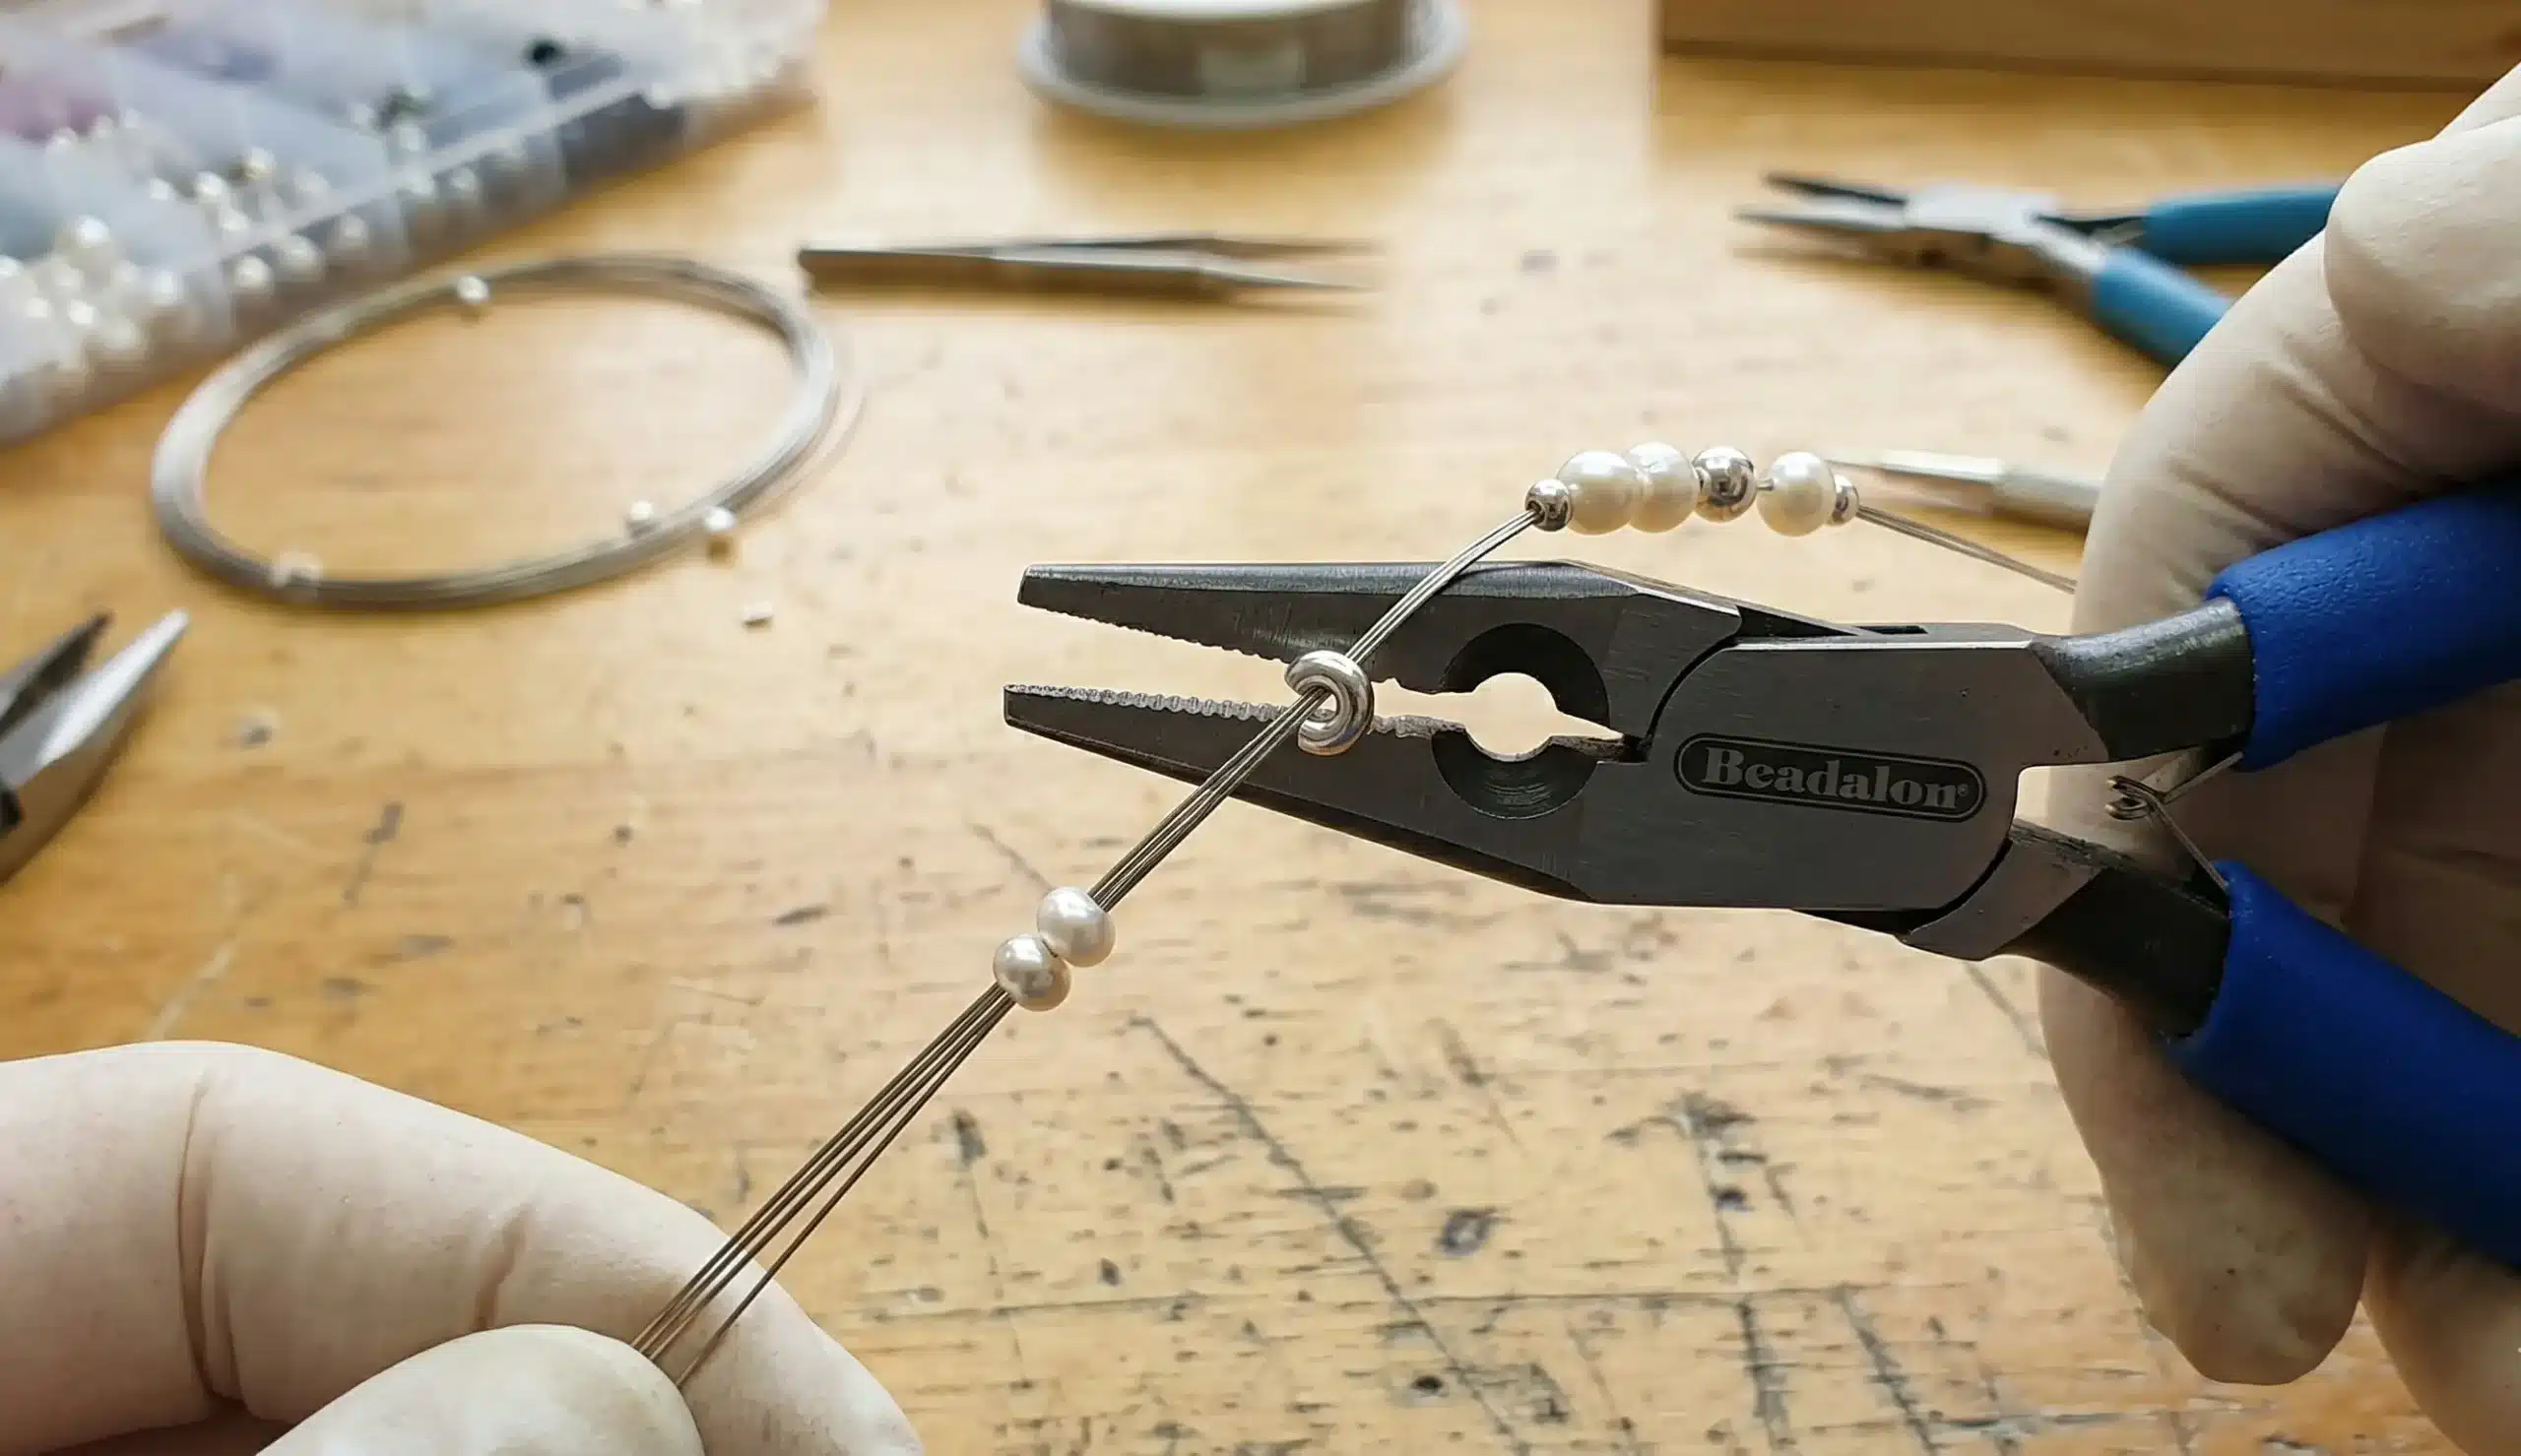
When finishing a beaded necklace on steel wire, never crush a crimp tube flat with standard pliers—it creates sharp creases that will slice the wire over time. You must use Crimping Pliers. First, place the tube in the back U-notch to separate the wires and fold it into a crescent shape. Second, move it to the front round notch and squeeze to fold the crescent perfectly in half into a compact cylinder.
Selecting High-Quality Metals and Finishes
Tarnished metal, green skin, or severe allergic reactions are the fastest ways to destroy a brand’s reputation. If you aim to discover how to make fine jewelry, understanding metallurgy is non-negotiable.
Gold-Filled vs Gold Vermeil vs Gold-Plated
If you want to master how to make gold jewelry o how to make silver jewelry that actually lasts, you must know your plating metrics:
| Tipo de acabado | Manufacturing Process & Composition | Durability, Market Position & Price |
|---|---|---|
| Gold-Plated | Microscopic layer of gold (under 0.5 microns) electroplated over brass/copper. | Low cost. Tarnishes and rubs off quickly. Strictly for fast-fashion. |
| Gold Vermeil | Thick layer of gold (minimum 2.5 microns) over Plata de ley 925 base. | Mid-to-high cost. Highly hypoallergenic. Excellent for demi-fine brands. |
| Gold-Filled (14K GF) | Solid layer of gold mechanically bonded under extreme heat to a brass core (must equal 5% of total weight). | The Indie Brand Standard. High perceived value. Will not flake or peel; can last decades. |
Understanding Tarnish Resistance & Hypoallergenic Compliance
For durable, everyday-wear pieces, the industry relies on 316L Surgical Stainless Steel (which utilizes highly durable, vacuum-sealed PVD plating) and high-grade Environmental Brass (which relies on heavy electroplating sealed with E-coating). Top-tier manufacturers ensure these metals pass stringent EU REACH testing to prevent nickel or lead toxicity, providing peace of mind to premium buyers.
Executing Your First Professional-Grade Project
Theory without application is useless. Let’s put everything you’ve learned into practice by building a tension-proof, professionally finished beaded bracelet. This method protects the wire from chafing and hides the ugly mechanical components.
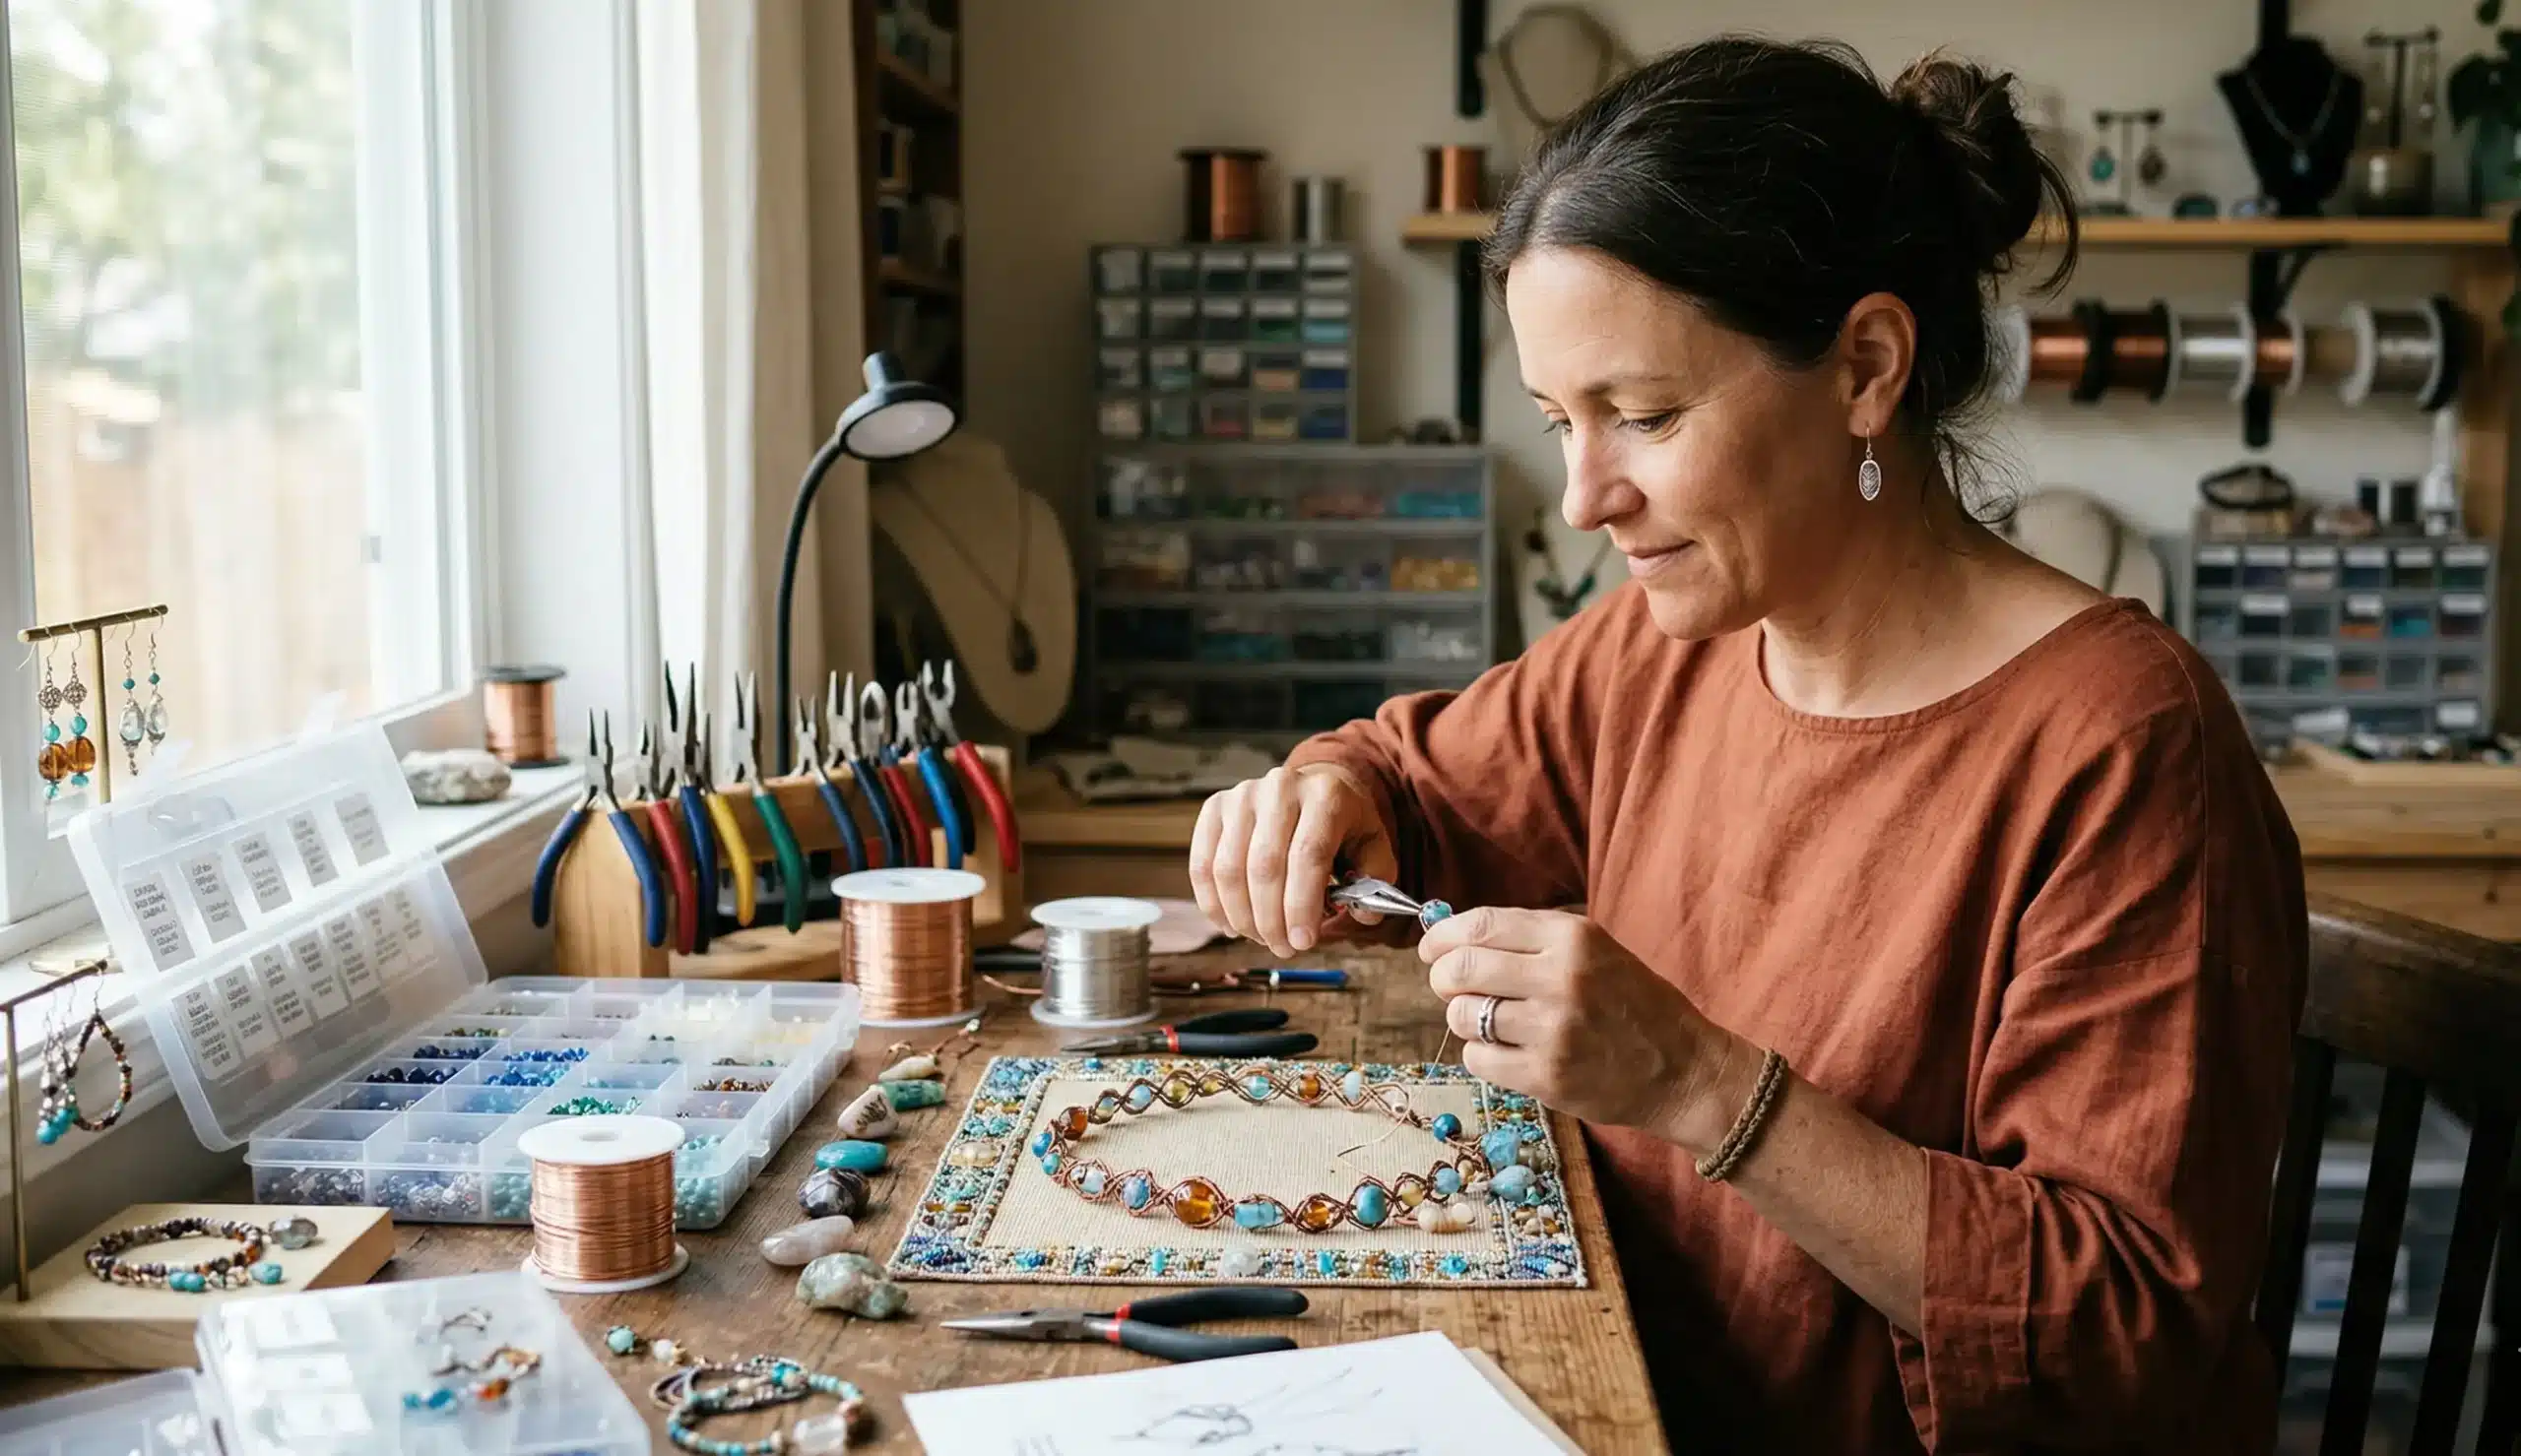
Materials Needed: 49-strand beading wire, two 2mm crimp tubes, two Wire Guardians (French wire horseshoes), two Crimp Covers, your chosen beads, a lobster clasp, a closed jump ring, flush cutters, and crimping pliers.
- Cut the Wire: Cut a generous 10 inches of the beading wire.
- The First Anchor (Protecting the Wire): Thread one crimp tube onto the wire. Next, thread the wire up through one side of a Wire Guardian, hook your closed jump ring (attached to the clasp) into the top curve of the guardian, and pass the wire down the other side. Pass the wire back down through the crimp tube. The Wire Guardian acts as a protective shield so the steel wire never rubs directly against the clasp.
- Crimp the First End: Push the crimp tube up close to the base of the wire guardian. Use your crimping pliers to permanently compress the tube.
- Stringing and Hiding the Tail: Thread your first 3-4 beads over both the main wire AND the short tail wire to hide the tail. Snip any protruding tail flush. Continue stringing your pattern.
- The Final End (The Crucial Tension Paradox): Thread on your final crimp tube, thread the wire through your second Wire Guardian (hooking your extender chain), and pass it back down through the crimp tube AND simultaneously through the last 2-3 beads you just strung.
Pro Tip: Pull the wire snug, but STOP. Leave 1-2 millimeters of visible bare wire slack. If beads are packed too tight, the wire will snap when the bracelet curves around a wrist. - The Friction Lock & Final Cut: By passing the tail back through those last 2-3 beads, you’ve created a “Friction Lock.” Crimp the final tube. Use your flush cutters against the exit hole of the last bead and snip the remaining wire cleanly.
- The Masterful Finish (Crimp Covers): An exposed, smashed crimp tube screams “amateur.” Take a Crimp Cover (looks like a tiny metal Pac-Man) and place it over the compressed crimp tube. Never use flat-nose pliers to smash it closed! Instead, place the cover into the front round notch of your crimping pliers and gently pinch it shut to form a perfect, seamless metal sphere.
Materials Needed: 49-strand beading wire, two 2mm crimp tubes, two Wire Guardians (French wire horseshoes), two Crimp Covers, your chosen beads, a lobster clasp, a closed jump ring, flush cutters, and crimping pliers.
Congratulations, you have just built a structurally perfect, retail-ready bracelet.
Scaling the Craft: From Weekend Hobby to Profitable Business
The ultimate goal for many talented artisans is figuring out how to make jewelry to sell. There comes a thrilling, yet utterly terrifying moment for every successful maker: your Etsy shop blows up, and you physically cannot hand-make 500 orders over the weekend. If you want to know how to make jewelry at home to sell without burning out, you must evolve your business model.
Establishing Your Pricing Formula
You must stop pricing based purely on an arbitrary “hourly labor” rate for a hobby. Professional pricing requires a strict formula:
- Step 1 (Wholesale Price)
(Cost of Materials + Cost of Labor + Overhead) x 2 = Wholesale Price - Step 2 (Retail Price)
Wholesale Price x 2 = Retail Price
The Hidden Cost of Going Viral
Imagine getting 150 orders overnight. Your “labor” cost skyrockets because your physical time is finite. You aren’t just losing sleep; you are losing massive amounts of money on marketing and new designs. Worse, handmade quality drops under exhaustion, risking 1-star reviews. This is the flashing red warning light that you are ready to transition from a “Crafter” to a “Brand Owner.”
Crossing the Chasm: Partnering with a Premium OEM Manufacturer
To sustain those 4x profit margins, you cannot just buy retail beads and assemble them yourself. By partnering with a B2B Original Equipment Manufacturer (OEM) like Joyería Azone, you can effectively cut your unit production cost by up to 70%, completely unlocking true retail profit margins.
This allows you to step back into the role of Creative Director. However, the fear is real: Will a factory steal my designs? Will they force me to buy 5,000 pieces? Will it look like cheap mass-produced junk?
Here is how Azone bridges the gap for scaling independent designers:
- Free 3D CAD Conversion: Don’t know digital blueprints? Azone’s team will take your physical handmade prototype (or napkin sketch) and provide free 3D CAD conversion, turning your physical art into a precise digital file.
- Physical Pre-Production Samples (PPS): Never fly blind. Before a single piece goes into batch production, you will receive a physical Pre-Production Sample (PPS) shipped directly to your door for final approval. What you hold and approve is exactly what gets mass-produced.
- Handcrafted Fidelity: Azone understands the soul of indie jewelry. By combining precision CAD modeling with manual hand-polishing by artisans with 10+ years of experience, they guarantee the 500th piece looks just as bespoke as your handmade prototype.
- Low-Risk Scaling: Azone supports incredibly low Minimum Order Quantities (MOQs) of just De 50 a 100 piezas, allowing you to test new collections safely.
- Absolute IP Protection & Certified Quality: Your intellectual property is protected by strict NDAs. Azone guarantees a defect rate of <3%, fully backed by global SMETA, BSCI, and REACH certifications, plus GRS recycled materials.


 English
  Spanish
  French
  German